For this battle both sides had secret deployment. This isn't something we do very often, as most of our games are scenarios / historical re-fights, and to my mind it showed: both players deployed in a somewhat a-historical fashion.
The Austrians weighted their right. Massed infantry and cavalry, supported by heavy artillery on the high ground, made this a very well inhabited sector.
The centre of their position was occupied by more infantry and cavalry but 'the gap' between right and centre was linked solely by guns. On the left, more infantry, including the bulk of the Grenzers were supported by hussars.
The position reminded me a little of the deployments at the Battle of Prague.
The Prussian deployment too had a unsavoury gap in its centre.
The Prussian right consisted of a strong cavalry detachment, all of the Grenadiers and a battery of medium howitzers. These troops were supported in the centre left by a strong infantry command.
The centre was vacant of infantry but had a particularly large, strong cavalry command supported by heavy guns. The Prussian right consisted of more infantry with the extreme right being held by hussars
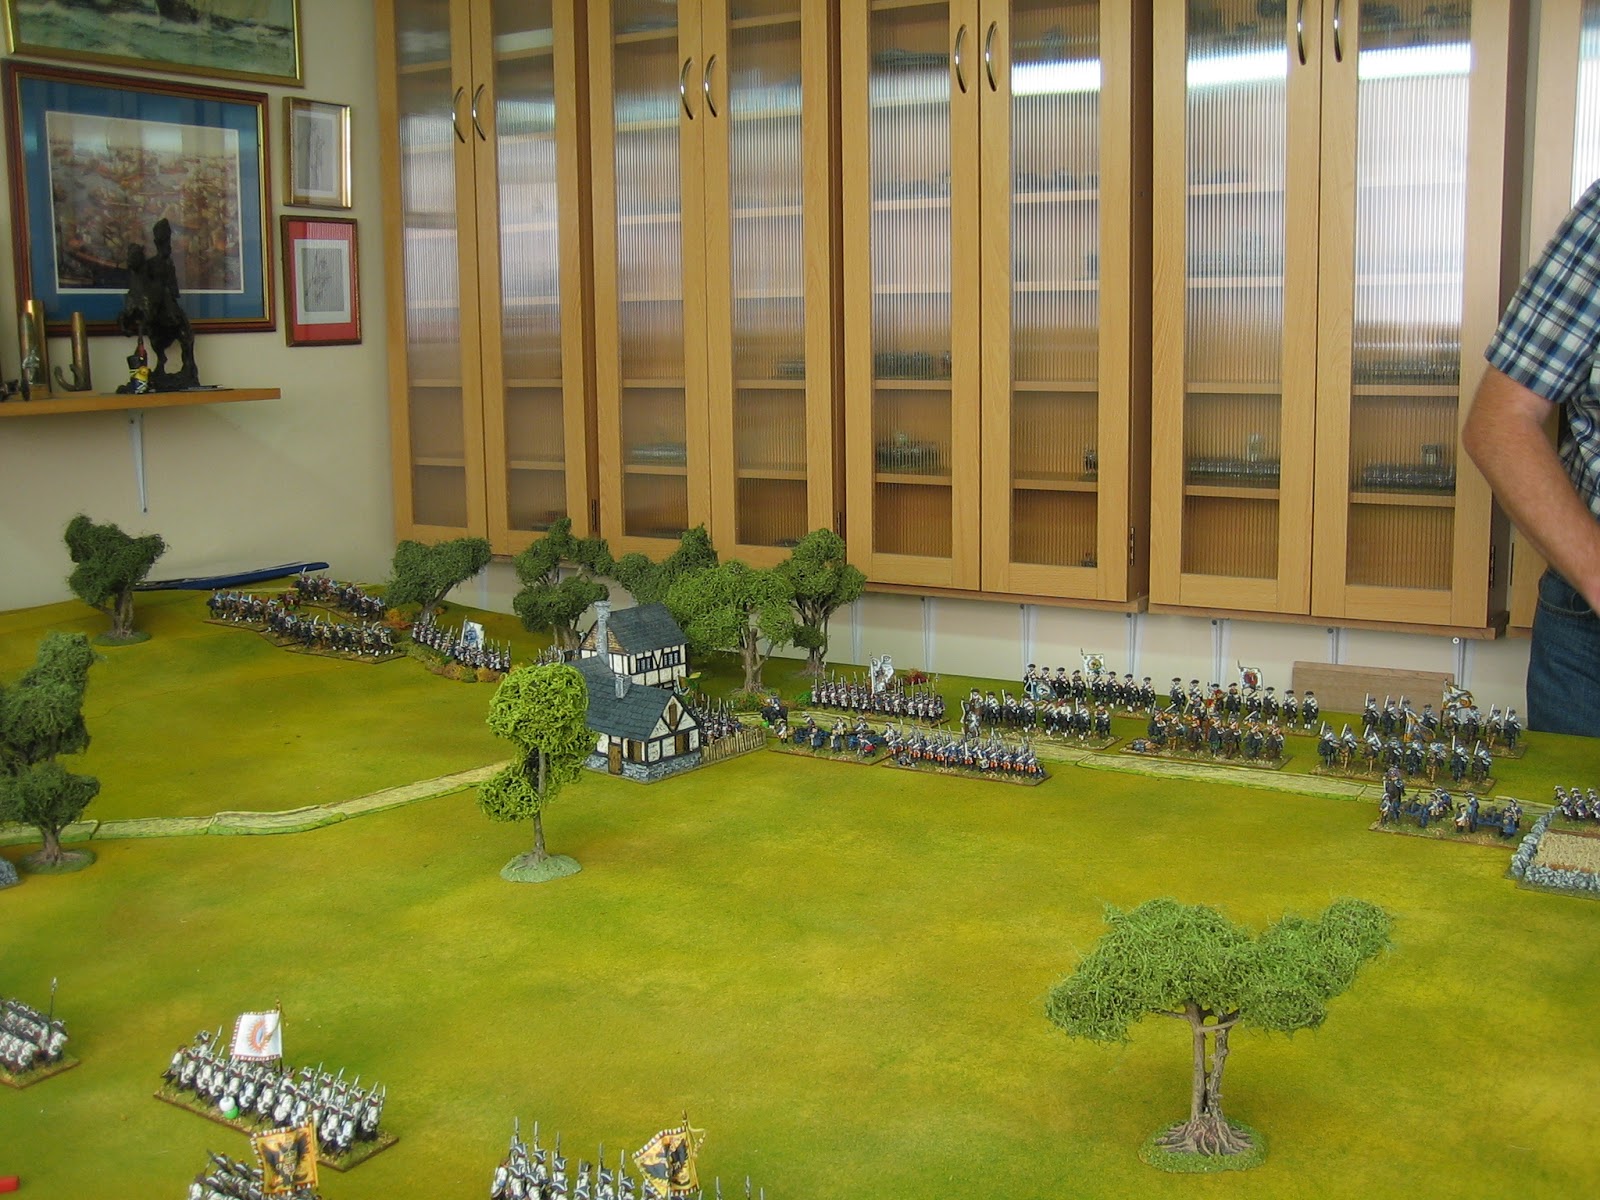
The centre in more detail.
The Prussians opened the battle with an attack from their left.
The Austrians counter-attacked around the village but more Prussian infantry moved to throw this response back before its effect was felt.
The cavalry on this flank soon came to grips too. The Austrians getting the better of the first clashes here.
On the other flank the Austrians moved their Grenzers, supported by hussars along the long flanking ridge.
The Austrian artillery, even from its advantageous higher ground could not prevent the Prussian attack from developing to threaten their left.
However, the Austrians were developing an attack on their right with some alacrity.
They also began to shift infantry from their centre left towards their centre right. To threaten the oncoming Prussian infantry.
This presaged a major move by the Prussian cavalry.
Towards the end of turn 5, the position was this. On the Austrian right the Prussian attack had stalled but the gap between the Austrian right and the centre was coming under pressure.
Further to the Austrian left the Austrians were shifting troops left and these were now under imminent threat from cavalry on their flank. On the Austrian left, the main Austrian attack was proceeding with little resistance. The Austrians have broken into the village and threatening to completely isolate the Prussians beyond it.
The next turn saw the battle decided.
As expected, the Prussian cavalry launched charges into the flanks of the Austrian infantry in the centre before they had time to change face. This shock precipitated a complete stall in the attacks of the Austrians who began to be repulsed in every part of the field. (Peter [Prussia] won almost all of the big initiative swings and seldom failed to cause massive casualties with every die roll for the remainder of the evening).
On the Austrian left the Austrians actually managed to maintain a semblance of an attack but, even here, stiff Prussian resistance caused the Austrians to falter. What looked like a well organised attack was halted, and the Prussians began to gain ascendancy.
When the Austrian central cavalry reserve pitched into the victorious Prussian cavalry things came momentarily back into balance.
That cavalry clash was decided in the favour of the Prussians.
The Austrian centre collapsed and the Prussian cavalry splayed out to roll up the Austrians to either side.
The Austrian wheels had truly fallen off and they began to withdraw.
A decisive bloody victory to Schwerin and the outnumbered Prussians. Losses were as follows:
- Prussia: 10 SPs (24%) in the battle.
- Austria: 17 SPs (32%) in the battle, 2 more in the pursuit for a total of 19 (36%).
The Austrians under Konigseck retreat to Munchengratz where they merge with the army under Macquire.
For the first time in the campaign, the Prussians have more Victory Points than the Austrians with 66 to 60.
At the end of Turn 4 the strategic position is as follows:


2 comments:
An entertaining account, illustrated lavishly with fine photos of the action! What more could any visitor want? I always enjoy my visits to your blog to see your games in splendid array.
You always have the prettiest games.
Post a Comment